Black Forest Gateaux

DSC_0773.JPG

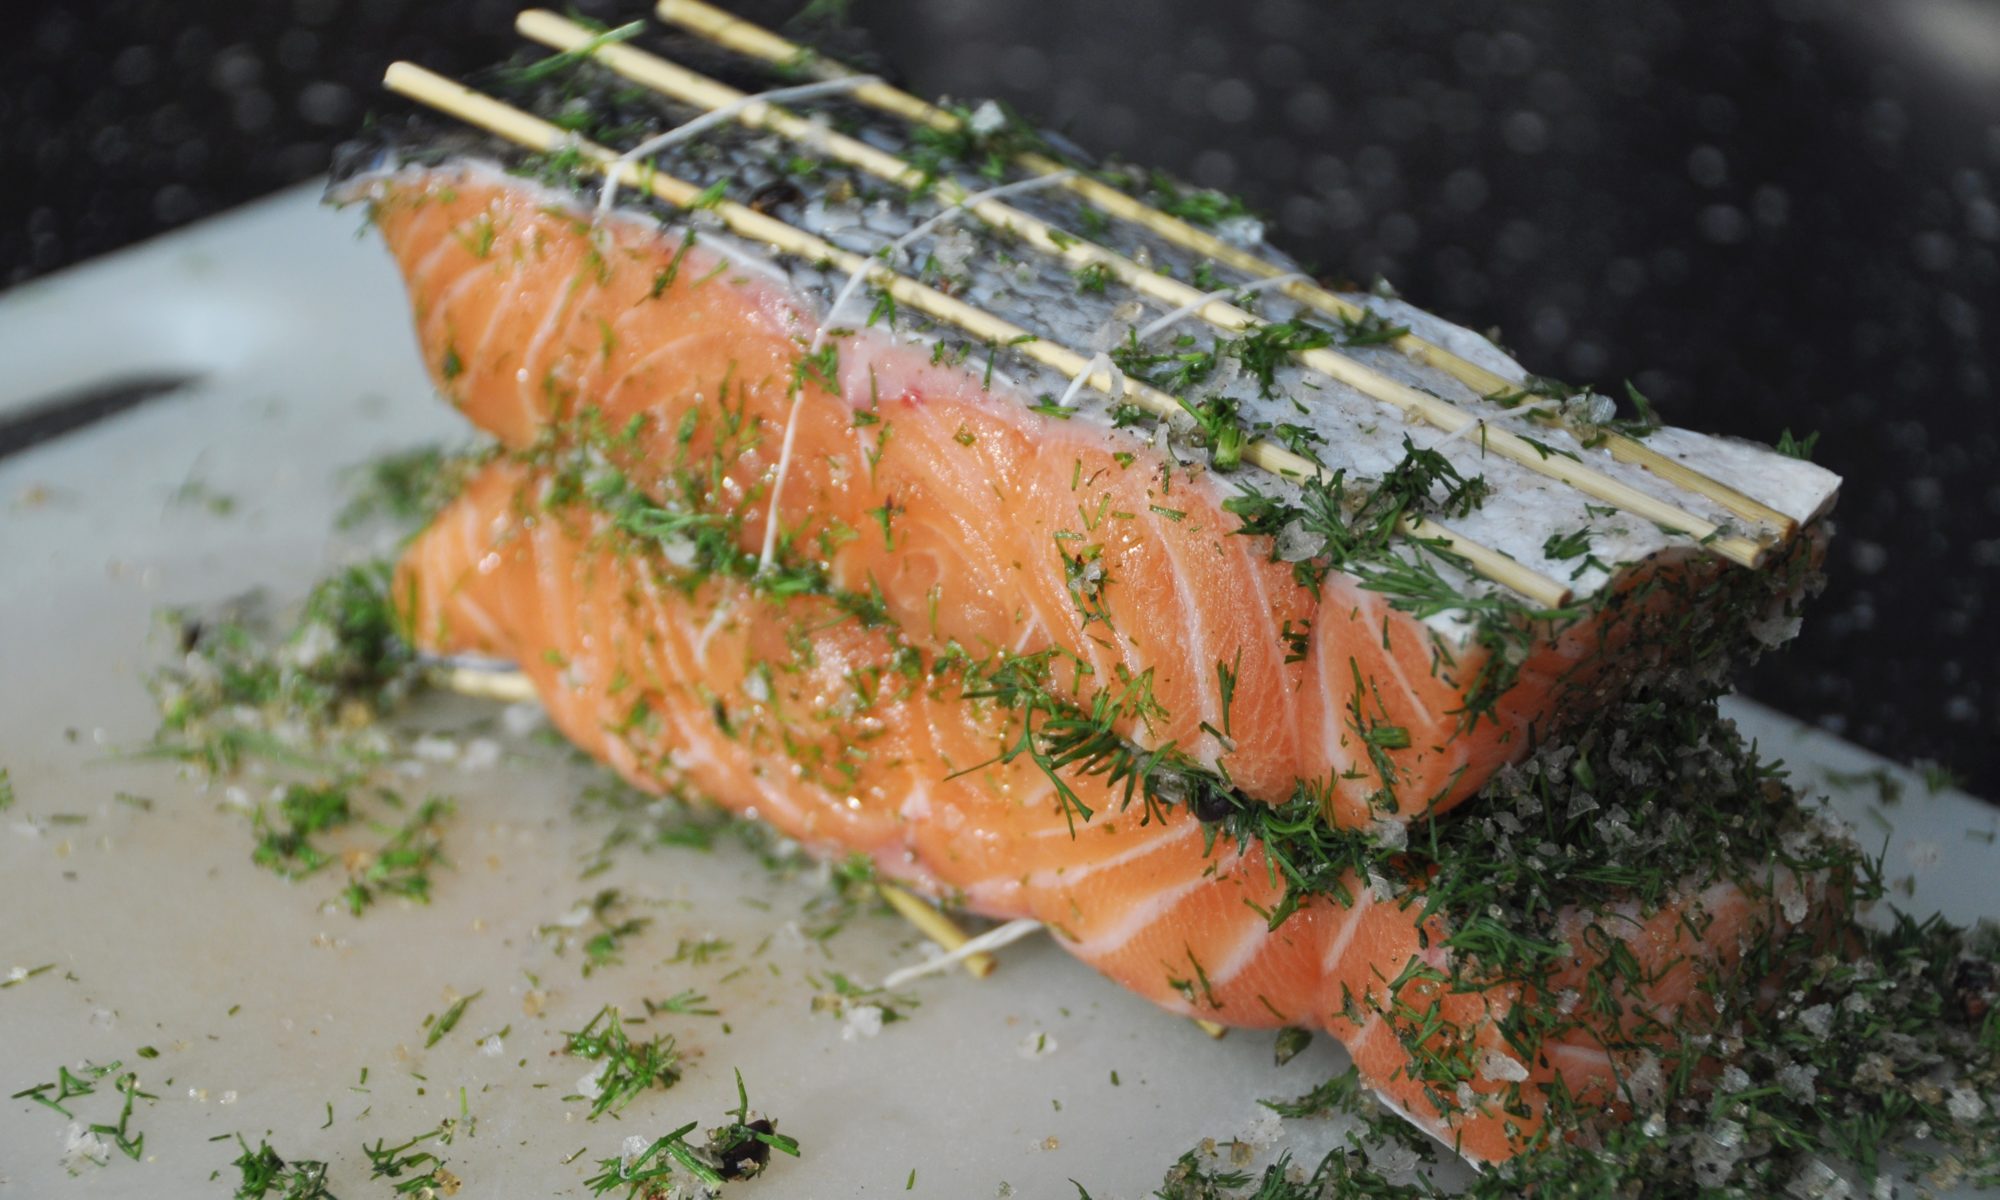
Following is for a 240 mm round baking tray. You need a springform tray (one where the rim can be removed) or one of those where the bottom comes out.

100 g dark chocolate (go for quality and high cocoa content)
150 g soft unsalted butter
150 g sugar
4 free range medium size eggs

50 g ground almonds
50 g corn starch
50 g normal white wheat baking flour
50 g fine dried bread crumbs

1 tablespoon of baking powder (unless you use self-rising flour)
1 tablespoon of vanilla sugar (or equivalent amount of vanilla extract, aroma or genuine vanilla)

Process:

Melt the chocolate in a bowl over hot water or *very* carefully in the microwave oven at very low power setting. This works quicker but it is easy to burn the chocolate in the micro.

Mix butter, sugar and vanilla, whisk until slightly foamy.

Separate the egg yolks from the whites, whisk the egg whites stiff.

Mix almonds, flour, corn starch, bread crumbs. Add a tablespoon of dark cocoa for an extra boost if you want.

Check that the chocolate has cooled down but is still runny or very soft. Must be under 80 C so that the eggs won’t cook in it.

Mix the egg yolks into the chocolate.

Add the almonds, etc, to the eggs and chocolate. Mix.

Gently add the egg whites to the mix. Traditional cooking wisdom calls this to “fold in the whites” using a thin metal spoon, careful not to knock out too much air. I prefer using a whisk, just don’t use it for whisking. Instead gently rotate it to fold the egg whites into the batter mix. I find it is easier to evenly distribute the whites using the whisk; the traditional spoon method is likely to break more of your stiff whites.

Preheat the oven to 180 C. Use Top and bottom heat or convected air.

Butter the form really well, especially around the corners.

Bake for 45 minutes.

Rest for 3 hours. Remove it from the tin when the time is right. Too soon and it will break, too late and it will be soggy. You need to judge and find the sweet spot, but if you have a good baking tray where the sides come off or the bottom can be pushed up, the highest risk is in that you burn your hand, wrist or arm on the hot tin. Every time…

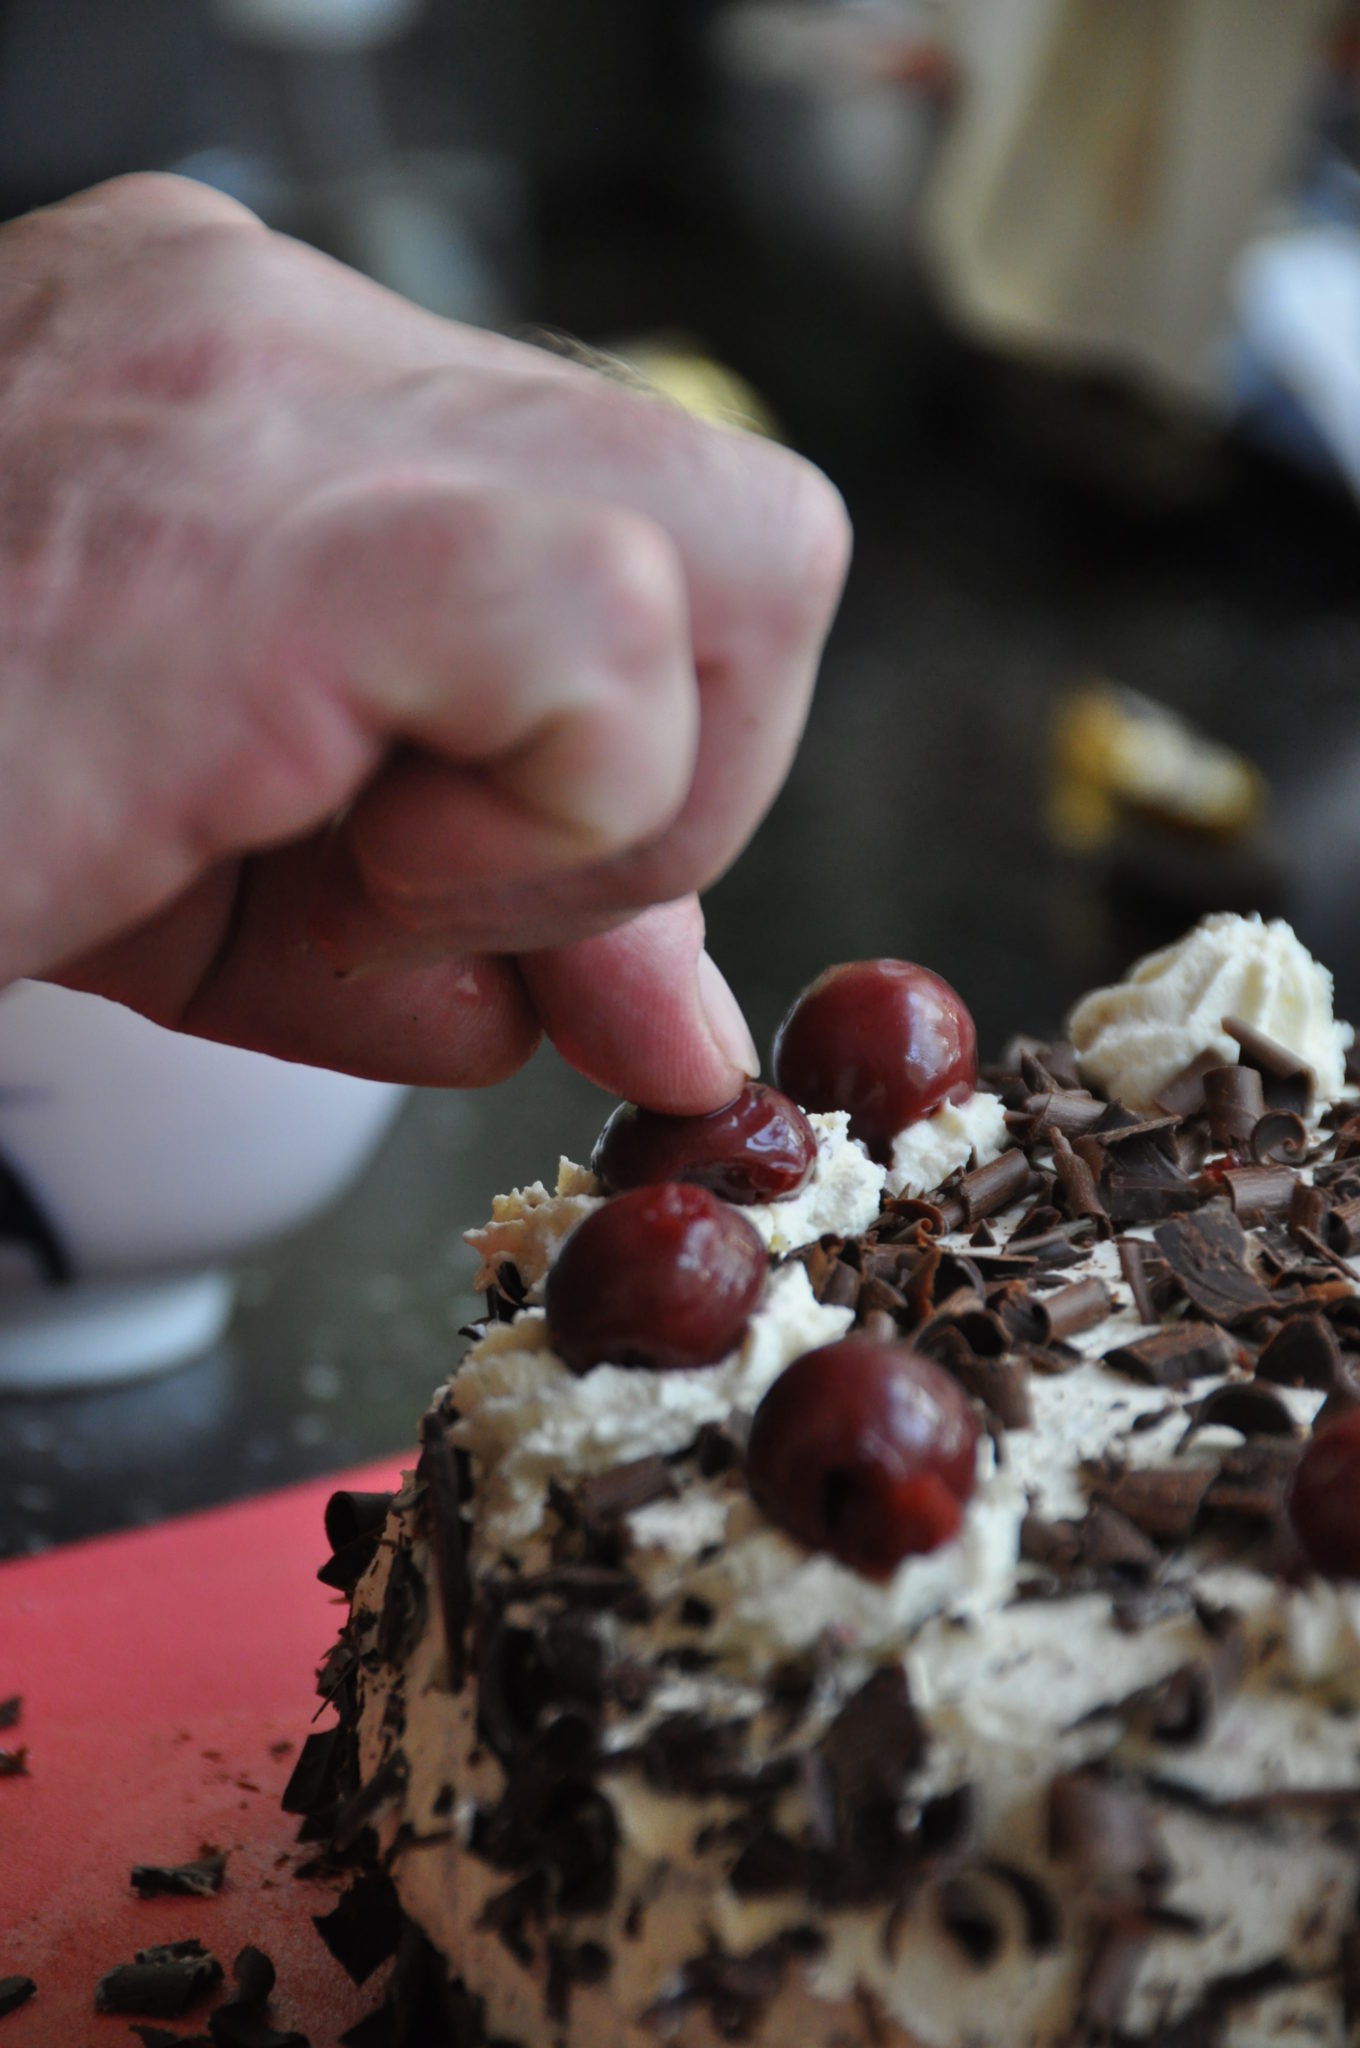
Slice once or twice, douse with booze.

Make the filling, assemble and decorate.

Afterthought, June 2020: Mother’s Express Sponge makes a fast, easier and ligher base for this.

Goats Cheese Millefeuille

cropped-P20160521193324-2.jpgWell, I say millefeuille but really we are talking about three sheets of double-layered filo pastry, but it does make for an excellent starter!

It’s impressive, it has the Wow! factor, and it isn’t all that hard to make. A great way to start a dinner party.

My Goats Cheese Millefeuille is a small stack of double-layered filo pastry, flavoured with fennel pollen and baked crisp. In between the sheets is an assortment of textures and flavours such as molten goats cheese, roasted beetroot, raw fennel shavings, raspberries and blueberries.

The exact choice of incredients for the filling isn’t very important so long as they combine well and offer variety in texture and aroma.

Goats cheese is required unless you change the name of the dish. I usually use the types which are rolled in ash, and melt them in a frying pan with a spot of butter.

Roasted beetroot, lightly tossed with balsamic vinegar, a small splash of lime juice and a sprinkling of salt works beautifully.

Soured cream will provide moisture, or perhaps a spoonful of roasted fennel puree, the Missus’ favourite.

Raw fennel shavings are always nice and, speaking of shavings, Parmesan cheese shavings could also work well.

A fruit component is, in my opinion, essential. Fresh raspberries, blueberries or blackberries work well and look great. Blood orange or grapefruit fillets could also work if your citrus fruit filleting skills are OK; the fruit can’t be soggy or it ruins the filo.

For the filo sheets, the method is simple:

Buy a pack of good quality filo sheets. Prefer the not frozen variety if you can. Roll out one, and cover generously with melted butter (warm, not hot!). Give it a generous sprinkling of fennel pollen, then add another sheet of filo pastry. Not everyone has fennel pollen in the spice cupboard (and it is a little bit on the expensive side unless you are foraging). Alternatively, course black pepper or fresh nutmeg shavings also work well.

Cut the double-layer into the required size, maybe as large as a playing card, using a pair of scissors. Place on baking parchment, then bake at 190 C until dark golden, approximately 10 minutes.

Take out of the oven, very gently transfer onto a cooling rack and leave there until it is time to assemble. Use the pictures and your own imagination as a guide!

Goats’ Cheese Tarte

IMG_20170311_160713.jpgThis is a scrumptious goats’ cheese tarte, which makes for a great vegetarian lunch or supper.

Gremolata-coated goats’ cheese cubes, topped with honey and orange glazed shallots, beetroot and creme fraice, baked on a sheet of ready-rolled puff pastry. Looks delicision, tasts delicious, what’s not to like?

Thaw one sheet of ready-rolled puff pastry.

Parboil three medium-sized beetroot for 12 minutes, then drain and let cool down slightly. Put on some disposable gloves, peel and dice the beetroot, then toss with a tablespoon of good quality balsamic vinegar.

Peel a handful of shallots, cut in half and gentry caramelise with a tablespoon of butter, honey and orange marmelade each. I also like a red chilly in the mix for a little bit of background heat. After caramelization starts, pop the whole thing in the oven at 170 C for 10..15 minutes.

Meanwhile, make the gremolata: a bunch of parsley, two tablespoons of breadcrumbs, a tablespoon of pine kernels, a tablespoon of grated unwaxed lemon peel, a teaspoon of crushed black pepper. Blizz until smooth.

Dice enough goats cheese to cover 3/4 of the puff pastry sheet loosely. Toss the cheese dice in the gremolata.

Pre-heat your oven to 200 C.

Spread out the puff pastry sheet, then use a knife to mark a one inch border around the edges. All your toppings stay within that inner square: spread the coated goats cheese, add the beetroot dice, add an occasional half teaspoon of creme fraiche. Put the caramelized onions on top and drizzle a small amount of the onion’s cooking licquor across.

Finally, fold up the puff pastry edges to form a tray, and brush the outsides with a mixture of equal amounts of one egg yolk and milk.

Pop into the oven for 20 minutes or until the pastry looks just right.

Eat while warm, but note that everything on this tarte retains heat pretty well. You’ve been warned!

Tarte Flambé

cropped-DSC_0564.jpgHere’s an all-time favourite. It’s Tarte Flambé to the French, Flammkuchen to us, and not very well known outside the southwestern Germany and northeastern French areas. But everyone loves it!

A very thin and crispy lean bread base with a sour cream, onion and bacon topping. Seriously, what’s not to like?

For 3 tarts or two people:

Kned a yeast dough from 300 g white wheat flour, 6 g salt, 8 g fresh yeast and 165 ml water, all at room temperature. Kned, let it rest for 15 minutes, then kned very thoroughly to develop the gluten. Gluten may not be fashionable, but it gives strength to bread. Roll out to three very thin sheets, as thin as 2 mm. Transfer onto baking parchment and set aside for 45 minutes.

Pre-heat to oven to as much as you can. Check the baking parchment for the maximum temperature (mine does 240 C), don’t go too much over as it might catch fire and generally gets brittle and of little use when overheating.

Cut 250 g striped bacon into thumb-sized strips, cut two medium-sized onions into thin rings. Mix 220 ml soured cream, a teaspoon of greshly ground corse black pepper, a pinch of nutmeg, a pinch or salt.

Prepare one tarte at a time, as you don’t want them to get soggy while waiting for the baking. Spread the spiced soured cream evenly across the base, sprinkly bacon and onions evenly across, then bake until the edges are almost burnt (a few minutes).

Cut into large pieces and eat right away. Use your hands.

Here’s a somewhat more detailed and not entirely serious version of the recipe for dummies


Salt and Pepper Squid

DSC_0347-1.JPGWe can’t forget the Chisimath, a brilliant but sadly long gone local Singaporean restaurant, best remembered for their friendly service and their salt and pepper squid.

Mine aren’t as good but they can be so nice that you may not want to stop eating them.  Nothing wrong with a piece of nice bread, a plate of shallow-fried salt-and-pepper squid and a poached egg.

This needs everything at the ready, as cooking happens all at the same time, and only takes minutes.

Clean and trim the squid (I use frozen baby squid and always have some in the freezer). Cut into rings the width of your index finger, leave the tentacles intact but seperate. Drain on kitchen towel. Set aside.

Cut a thick slice of nice sourdough or Rye bread per person. Rub very generously with garlic, then tomatoe, then olive oil. Set aside.

Mix one spoon of corn flour and white wheat flour on a plate.

Prepare one egg white on another plate.

Prepare the spice mix on the thrid plate: a spoon of salt and crushed black pepper, 1/4 crushed celery seeds. A tablespoon of finely chopped red chilly and spring onions each. Mix together.

Get the griddle going and toast your bread nicely. When ready, briefly drain on kitchen tissues.

Bring a small pot of water to the boil, add a splash of vinegar and turn down the heat until it just stops boiling.

Heat a generous amount of olive oil in a frying pan – about as deep as your little finger is thick. Get it pretty hot but not smoking.

Crack an egg into the no longer boiling water.

Now toss the squid in flour, then egg white, then spices. Fry in the hot oil. Since this isn’t a deep fryer, you need to move the pieces a little to prevent them from sticking. Just be gentle. The whole thing takes 3…4 minutes; the squid should start to take on a little colour but still be soft and tender.

Briefly drain squid, egg and bread on kitchen tissue, then plate up. Add some capers for extra kicks and some Balsamic reduction for the good looks.


Open Spanakopita

cropped-DSC_0668.jpgSpanakopita is a Greek spinach tarte. This is a slightly up-market version: instead of a flat tarte with a varying degree of density, soggyness and puffyness, our open Spanakopita is baked as a stand-up roll of filo pastry with the traditional spanakopita filling of spinach, feta cheese and pine kernels.

This makes a generous lunch for two, or a delightful starter for four.

500g frozen leaf spinach
100g Feta cheese
flat green parsley, toasted pine kernels, egg, breadcrumbs, salt, pepper, nutmeg

Optional: rich strained yoghurt (strained sheepmilk yoghurt preferred)

Optional: ground almonds

Pack of frozen filo pastry sheets

Begin by thawing the spinach, then squeeze it as dry as you can. Mix it with a handful of flat parsley, chopped, a handful of breadcrumbs, 2 whole eggs. Optionally also add 2 heaped tablespoons of yoghurt. If you can’t find strained yoghurt, strain it with a sheet of muslin. Mix this well, best using the hands.

For the filo, prepare 75g slightly salted soft butter.

Spread out one sheet of filo pastry, brush with soft butter. Optionally, thinly sprinkle some ground almonds across the sheet, then cover with the next sheet. Repeat this process to get three of four filo sheets combined in this manner.

Crumble the feta cheese and distribute evenly across the filo pastry. Sprinkle with the toasted pine kernels, then add the spinach mix (strain if too wet!) to form an even layer. Now roll the flat cake into a roll, and glue the ends together with buttered filo. Wrap with a sheet of baking parchement if necessary, then cut into thick slices.

Use the remaining filo to make a little bottom for each slice.

Bake at 190C for approximately 20 minutes. Decorate with a poached quails egg, or edible flowers.

Sopa Espirito Santo

wp-15435338542024335987979785167533.jpgSopa Espirito Santo is one of those quick one-pot wonders which warm body and soul and, for us, bring back lovely memories of the Azores from way-back-then.

Sopa Espirito Santo is a thin tomato soup, served with croutons and a poached egg. Google reveals different and richer recipes; this one here is authentic from distant memory, simple and delicious.

Per portion:

Peel one small to medium-sized onion, slice in thin half rings. Peel and crush two cloves of garlic. Heat a tablespoon of olive oil, and sautee onion and garlic. Quickly dice and add two ripe tomatoes. Give it a good stir, then add 400 ml cold water, and bring to a gentle simmer.

Add half a teaspoon of ground cumin and crushed black pepper, a chicken or vegetable stock cube and salt to taste.

Let this simmer for 10 minutes. Meanwhile, slice some bread. Rub it with garlic and olive oil, then griddle it until it is crisp. Almost any real bread will do, stale or fresh, just not the British factory “bread” variety. That one won’t do.

Turn down the heat and wait for the soup to stop cooking, then gently crack an egg per portion into the soup. Turn off the heat and let it poach until it is just right, approximately 4 minutes.

Dish out soup and egg. Add the croutons. Optionally, add a small amount of roughly chopped flat parsley.

Pudim Flan

DSC_1279.JPGOne of the household favourites, over many, many, years. This delicious pudding is known in Portugal as a pudim flan, in Spain as a caramello, in France as creme caramel. We call it pudim flan, or flan for short.

It’s very easy to make, and totally delicious:
Scrape the seeds from one vanilla pod, and mix well with 125g of castor sugar. Add 4 whole eggs and one extra egg yolk.
Melt 125g castor sugar with two tablespoons of water in a saucepan, then heat the solution on fairly high heat. Try not to do anything, no shaking, stirring, nothing.

The books often suggest that you should heat 1pt milk together with the vanilla pod in a saucepan, remove from the heat just before reaching the boiling point and set aside and let cool down for 10 minutes. I say don’t. Your pudding may not keep as well if you skip this step, but it’ll be so delicious that shelf-life won’t be an issue. Take milk from the fridge. Allow it to warm up a little in the room, especially if you are running your fridge on a cold setting, but use it at still a few degrees less than room temperature. Starting with cold milk leads to an airy flan, light as a feather and milkier in taste. According to our extensive self-experimentation, this makes the pinnacle of flans. A flan fit for a queen!

Prepare a Baine-Marie. Use a tall baking dish such as a 2inch high Pyrex baking dish. Add a kettle of boiling water and six ramekins. We’ve made flan in coffee cups on one occasion, almost anything will do because the heat isn’t all that great, but a fairly heavy porcellain ramekin is preferred over thin anodised aluminum affairs. The thicker wall distributes the heat evenly and allows the temperature to rise slower in the mix.

Preheat the oven to 150C (290F).

Once the sugar turned into a caramel with the colour of dark honey (possibly throwing milk-chocolate coloured bubbles), distribute the caramel among the ramekins. Take care not to engage your bare fingers or tongue, the caramel is at a very high temperature right now. It hurts a lot to lick that spoon!

Finally, pour the milk through a sieve into the egg mix, whisk briefly, then distribute the mix among the ramekins. Cook the whole thing in the oven at 150C for 40 minutes (until the top begins to darken in spots), then remove the ramekins immediately from the water bath and let them cool down.

Chill in the fridge for 2 hours or more. Keeps a few days.

To serve, turn over and resist the urge to add anything.


Italian-esque Bread Soup

DSCF7282.JPGSoup with attitude, Jamie Oliver called it. I’d say it’s soup with passion, because it’s a bit of a palaver to make, so you’d better really want it. But once you sampled it, you will love it.

This goes back to a dish Jamie Oliver once made on TV, so I shall claim only part ownership to this recipe – part ownership because I never saw or followed Jamie’s, but at any rate, it’s lovely, and the name Bread Soup is one of those lovely kitchen understatements…

Jamie called it Bread Soup With Attitude. It’s also a bit of a palaver to make, thus truly Italian, and lovely. Here goes:

Per person, find 250ml good stock. I cook a chicken with vegetables in just the right amount of liquid, set the chicken meat aside for something else some other day, skim and clarify the soup.

Then, per person, take two thick slices stale white bread. Stale, but not rock-hard. Remove some of the crust, pre-cut the remaining crust to make it easier to eat without a mess in the end. Gently fry the slices with garlic and olive oil, then rub a ripe tomato into each side.

Cut Savoy cabbage leaves and Cavolo Nero leaves into pieces roughly the size of the bread slice, and fry with olive oil for a two minutes or so. Crisp some bacon or panchetta, grind a good amount of Gruyere cheese. Stack bread, cabbage, bacon, cheese, bread, cabbage, bacon, cheese into s soup dish, and grill until the cheese begins to brown.

Shallow-fry whole sage leaves in clarified butter until they are crisp. Drain the fat and try not to break the leaves, which are now very brittle.

Now pour the stock over each portion, return to the grill for another minute or two.

Decorate with crisp sage leaves, maybe a remaining slice of crisp bacon, and a drizzle of the sage-infused clarified butter, and serve immediately.


Bretzeln

DSC_1006.JPGThese are the real Bretzeln, not the crisp, bone-dry Pretzels you are given on an aeroplane.

You need pure caustic soda for this. You can buy crystals of pure sodium hydroxide and make your own lye. Pure chemicals fit for use in food can be bought under the name Bretzellauge from a number of German online suppliers.

Don’t mess about with substitutes, such as dissolved bicarbonate of soda. It’s a very, very poor substitute.

Make a 4% lye from 40 g pure sodium hydroxide crystals on one litre of water, following procedures and safety advise on the packaging. You can store this in a glass bottle, as it can be reused many times. The lye shouldn’t be in contact with textiles, your eyes or any mucous membrane, but it is not very aggressive. A cheap pair of plastic gloves protect your hands, your reading glasses take care of your eyes. My worktop and my silicone baking sheets tolerate this lye with ease.

For one full-sized baking tray (6 to 8 Bretzeln):

300 g white wheat flour, 5 g salt, 1 nob of soft butter (about the size of a walnut), 20 g fresh yeast (or dry yeast if you must), 90 ml lukewarm water, 90 ml lukewarm milk.

Dissolve salt, butter, yeast in the milky water, then add the resulting liquor to the flour.

Knead thoroughly, let rest for 20 minutes, then knead briefly once more. Divide the dough into 6 equal parts for chunkier Bretzeln, or 8 parts for smaller and thinner ones. (Make the chunkier ones first until you have got the hang of it.)

Now roll each chunk into a thin sausage, approximately as thin as my index finger or perhaps your thumb, ~ 15 mm, then swiftly shape into a Bretzel: stretch the roll into a straight line and mentally mark the point one third away from each end. Now take both ends into a smooth loop towards you, twist them around each other just once, and attach the end from the right to the point one third from the right end, the end from the left to the point one third from the left.

This is a lot harder to explain than to do, but you may need a little practise.

Line your baking tray with a silicone baking sheet (alternatively use baking parchment).

Gently pour the lye into a flat dish, such as a Pyrex baking dish. Put on the rubber gloves and dip each Bretzel into the lye. A simple in-and-out will do, the Bretzeln don’t need to rest in the lye. Take care as the lye makes them slippery and makes them fall apart.

Place the Bretzeln on the tray with a little space in between, and give them another 30 minutes to rise further. Sprinkle them lightly with coarse salt (rock salt, sea salt flakes, etc).

Return the remaining lye to the bottle, clean up, preheat the oven to 200 C (390 F).

Bake for approximately 15 minutes, place them on a cooling rack and enjoy as soon as you possibly can. They are best straight from the oven.

We like them just so, or with a little butter, or with steak tartare, or with cheese – almost anything really.