Poached Chicken Breast with Beurre Blanc Sauce

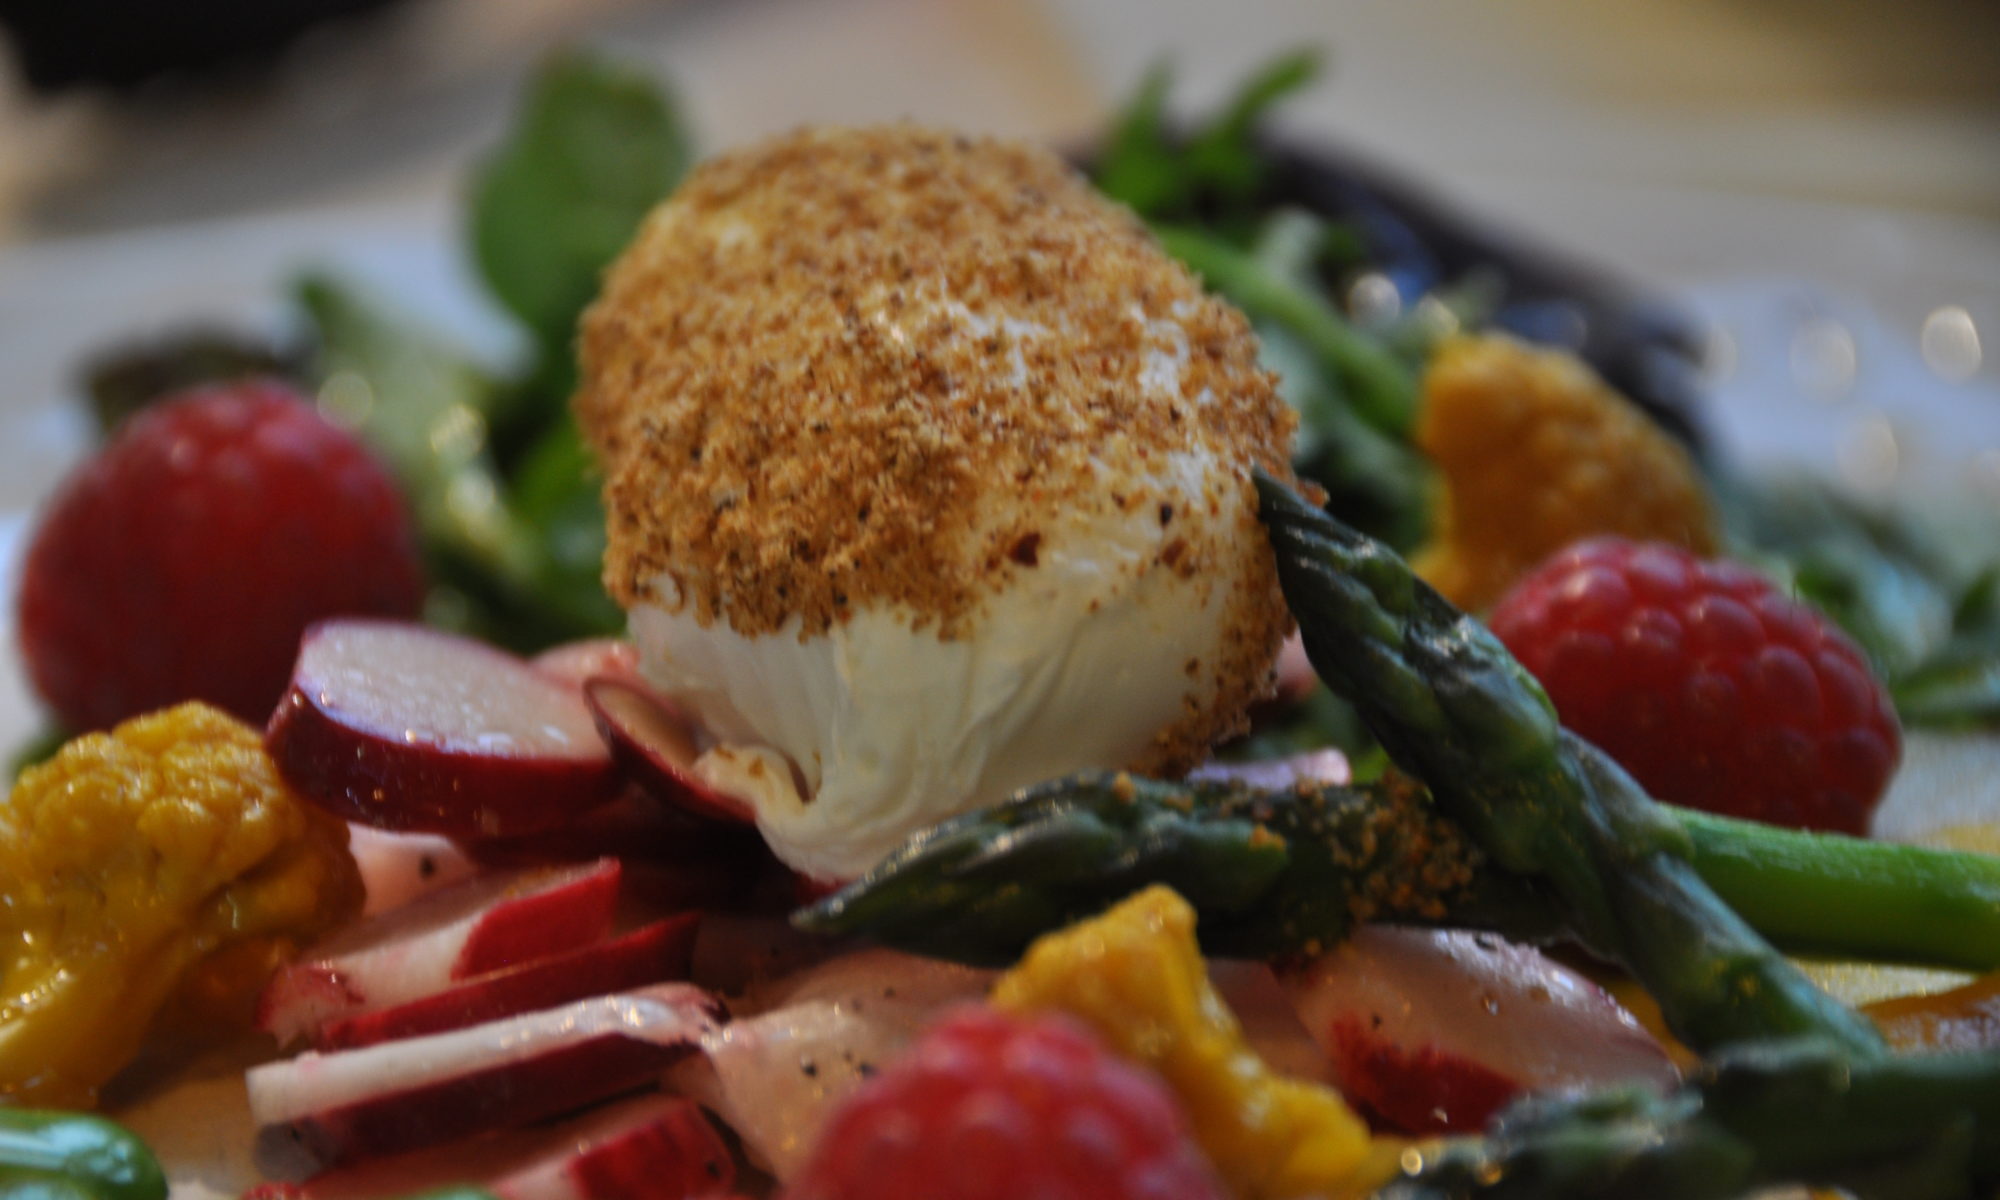
There’s a reason for the great classic recipes to be among the great classics, and this is one of them: a poached chicken breast, served with a Beurre Blanc sauce alongside anything suitable: freshly baked bread or some egg tagliatelle are popular, potato or potato-and-parsnip mash also works. The photo shows a potato gratin with toasted Brussel Sprouts, also nice.

Following is the wholesome from-scratch method that takes a little preparation time. I can’t vouch for the express method that uses breast fillets and instant poaching liquor.

Here’s the full Monty, which rewards with quality results and a second meal.

For the poaching liqor:

Buy a whole free range chicken, preferably a corn fed one. Take off the breasts and chill. Meanwhile chop one medium-sized onion, 3 gloves of garlic, two thumbs worth or fresh ginger, and any other suitable vegetables you find: leaks, cabbage greens, carrots, and so on.

Put the bird with the vegetables into a pot. Add 4 or 5 star anise, a heaped teaspoon of salt and pepper each, a couple of chillies. Then add cold water to just cover the lot, typically 1 to 1.5 litres, bring to the boil then let simmer very gently for 2 hours. Let cool down in the pot.

Eventually, take all meat off the bone and put it in the fridge. This makes a great chicken salad or a Fricassee on the next day, almost an instant meal! Or combine it with the poaching liquor and a splash of double cream for a delicious creamy chicken soup lunch!

Take the breasts from the fridge when you start cleaning the chicken. It helps to start at room temperature.

Poaching the breasts:

Key to poaching anything is to remember that poaching is not to cook. So, bring the liquor up to 85 C, remove the skin from the breasts and let them rest in the hot liqor for 15 minutes, a few minutes more if the meat was still cold or if you bought one of those 2 kg monster birds with breasts to match.

For the Beurre Blanc:

Dice a shallot finely and cook with a ladle of the poaching liquor and a ladle of dry white wine until the volume is reduced to half. Add a pinch of salt and freshly ground black pepper, optionally add a teaspoon of wholegrain mustard and, or, a tablespoon of small capers.

Take the pan off the heat and never return. It must not boil from here on!

Then take 125 g of cold butter. Dice it to little cubes, maybe 10 mm each side. Keep 5 or 6 of these behind and melt the others in the sauce, whisking fairly vigorously. Then add the remaining butter and stir in very gently, thus dissolving any foam that might have developed.

Dish out your chosen side dish, slice the breast, add the sauce and serve with a dry white wine.

Nothing wrong with that!

Baked Cod with Tartar Sauce

Simple, quick, classic and everybody loves it: baked cod with tartar sauce, served with steamed potatoes or fresh white bread.

First, take the fish out of the fridge and leave to get closer to room temperature.

Start with the tartar sauce: make a mayonnaise from one fresh free range egg yolk per portion. Olive oil is pretty acidic and not ideal; I prefer groundnut (peanut) or grape seed oil but a good vegetable oil will also work.

Finish the mayonnaise with a pinch of salt, two drops of lime juice per yolk and a spoon of wholegrain mustard. Mix and chill.

Meanwhile, hard-boil one fresh free range medium sized egg per person.

Chop a handful of flat leaf parsley, a coupe of spring onions. Drain and chop some capers, peel and chop the hard boiled eggs.

Mix with the mayonnaise and leave in the refrigerator.

Clean the cod but leave the skin on. Cut into portions of 150 to 180 g each. Place on a baking tray using balking parchment, skin side down. Put a half-walnut sized piece of butter or the equivalent amount of chilli oil on each piece of fish.

Put the fish into the preheated oven at 150 C, circulated heat. Give it 12..15 Minutes, more if the pieces are very chunky, more if they are still cold from the fridge, but no more than 20 Minutes.

Add freshly ground black pepper, serve with the tartar sauce, steamed potato or fresh white bread and a glass of a crisp dry white wine.

Gravlax

DSC_1221Gravlax, or Graved Lax, is a dish made from raw cured salmon. It is very easy to make, and very delicious to eat. I find it is best enjoyed with horseradish or mustard sauce on a slice of flavoursome bread and with a little green side salad, but whether you have it for breakfast, for elevenses, for lunch, as a starter or for your supper is up to you.

It can also be used in most dishes that call for smoked salmon, like a salmon and goats cheese quiche.

Preparation takes only 30 minutes, but you should allow four days for the curing.

Go and buy two pieces of salmon filet, with skin. You don’t need to buy a whole side, all you need is two pieces of the same size and shape.

For 1 kg of raw salmon, mix 2 tablespoons of sea salt and 2 tablespoons of sugar, 1 teaspoon of freshly ground pepper, 2 teaspoons of crushed juniper berries, 2 teaspoons of crushed allspice and a large fresh bunch of Dill, very finely chopped.

Grate one raw beetroot into the mix for extra drama.

If you feel the urge to wash any of this, be sure to dry it well with a kitchen towel or a salad spinner.

Rub the spice and herb mix onto the meat side of the fillet pieces, then pile the remaining mix evenly on one of the fillets and place the second fillet on top.

If you have a vacuum sealing machine, that’s ideal as no juices seep out, but you must be careful that the two halves stay on top each other, herbs in the middle. You must also work very fast as salt and sugar draws liquid  out of the meat, which will very quickly prevent your vacuum machine from sealing the pouch.

Alternatively, wrap very firmly in cling film, then tin foil, then wrap one or two tea towels around firmly (to soak up what seeps out), then place into a reusable plastic container with a lid.

Put in the fridge and leave in peace for four days, except for one rotation each day.

When it is done, unwrap carefully, scrape off the loose herbs and spices, and cut into very thin slices.

Devilled Eggs

DSC_0264Everybody loves these, and most people usually say “oh! I remember we used to make those, too!”

Everybody used to make devilled eggs for all occasions some time during the past century. Not so for us. We still make them and still love them and whenever we offer some, at most one is left over if nobody dares take the last one. Otherwise none.

Hard-boil half a dozen of medium-size free range eggs, then shock in very cold water and peel. Cut right through the middle, arrange the egg white halves on a serving plate and collect the yolks in a small mixing bowl. Add the devil in the form of a very generous amount of mustard, and perhaps a small amount of soured cream to make the mix lighter. Mix well with a fork or a hand mixer, fill into a piping bag and into the waiting egg whites.

Optionally decorate with a caper or a sliver of red peppers, although I find this is taking the retro look too far. For a more refined look and for far more fiddly preparations consider using Quail eggs.


Black Forest Gateaux

DSC_0773.JPG

Following is for a 240 mm round baking tray. You need a springform tray (one where the rim can be removed) or one of those where the bottom comes out.

100 g dark chocolate (go for quality and high cocoa content)
150 g soft unsalted butter
150 g sugar
4 free range medium size eggs

50 g ground almonds
50 g corn starch
50 g normal white wheat baking flour
50 g fine dried bread crumbs

1 tablespoon of baking powder (unless you use self-rising flour)
1 tablespoon of vanilla sugar (or equivalent amount of vanilla extract, aroma or genuine vanilla)

Process:

Melt the chocolate in a bowl over hot water or *very* carefully in the microwave oven at very low power setting. This works quicker but it is easy to burn the chocolate in the micro.

Mix butter, sugar and vanilla, whisk until slightly foamy.

Separate the egg yolks from the whites, whisk the egg whites stiff.

Mix almonds, flour, corn starch, bread crumbs. Add a tablespoon of dark cocoa for an extra boost if you want.

Check that the chocolate has cooled down but is still runny or very soft. Must be under 80 C so that the eggs won’t cook in it.

Mix the egg yolks into the chocolate.

Add the almonds, etc, to the eggs and chocolate. Mix.

Gently add the egg whites to the mix. Traditional cooking wisdom calls this to “fold in the whites” using a thin metal spoon, careful not to knock out too much air. I prefer using a whisk, just don’t use it for whisking. Instead gently rotate it to fold the egg whites into the batter mix. I find it is easier to evenly distribute the whites using the whisk; the traditional spoon method is likely to break more of your stiff whites.

Preheat the oven to 180 C. Use Top and bottom heat or convected air.

Butter the form really well, especially around the corners.

Bake for 45 minutes.

Rest for 3 hours. Remove it from the tin when the time is right. Too soon and it will break, too late and it will be soggy. You need to judge and find the sweet spot, but if you have a good baking tray where the sides come off or the bottom can be pushed up, the highest risk is in that you burn your hand, wrist or arm on the hot tin. Every time…

Slice once or twice, douse with booze.

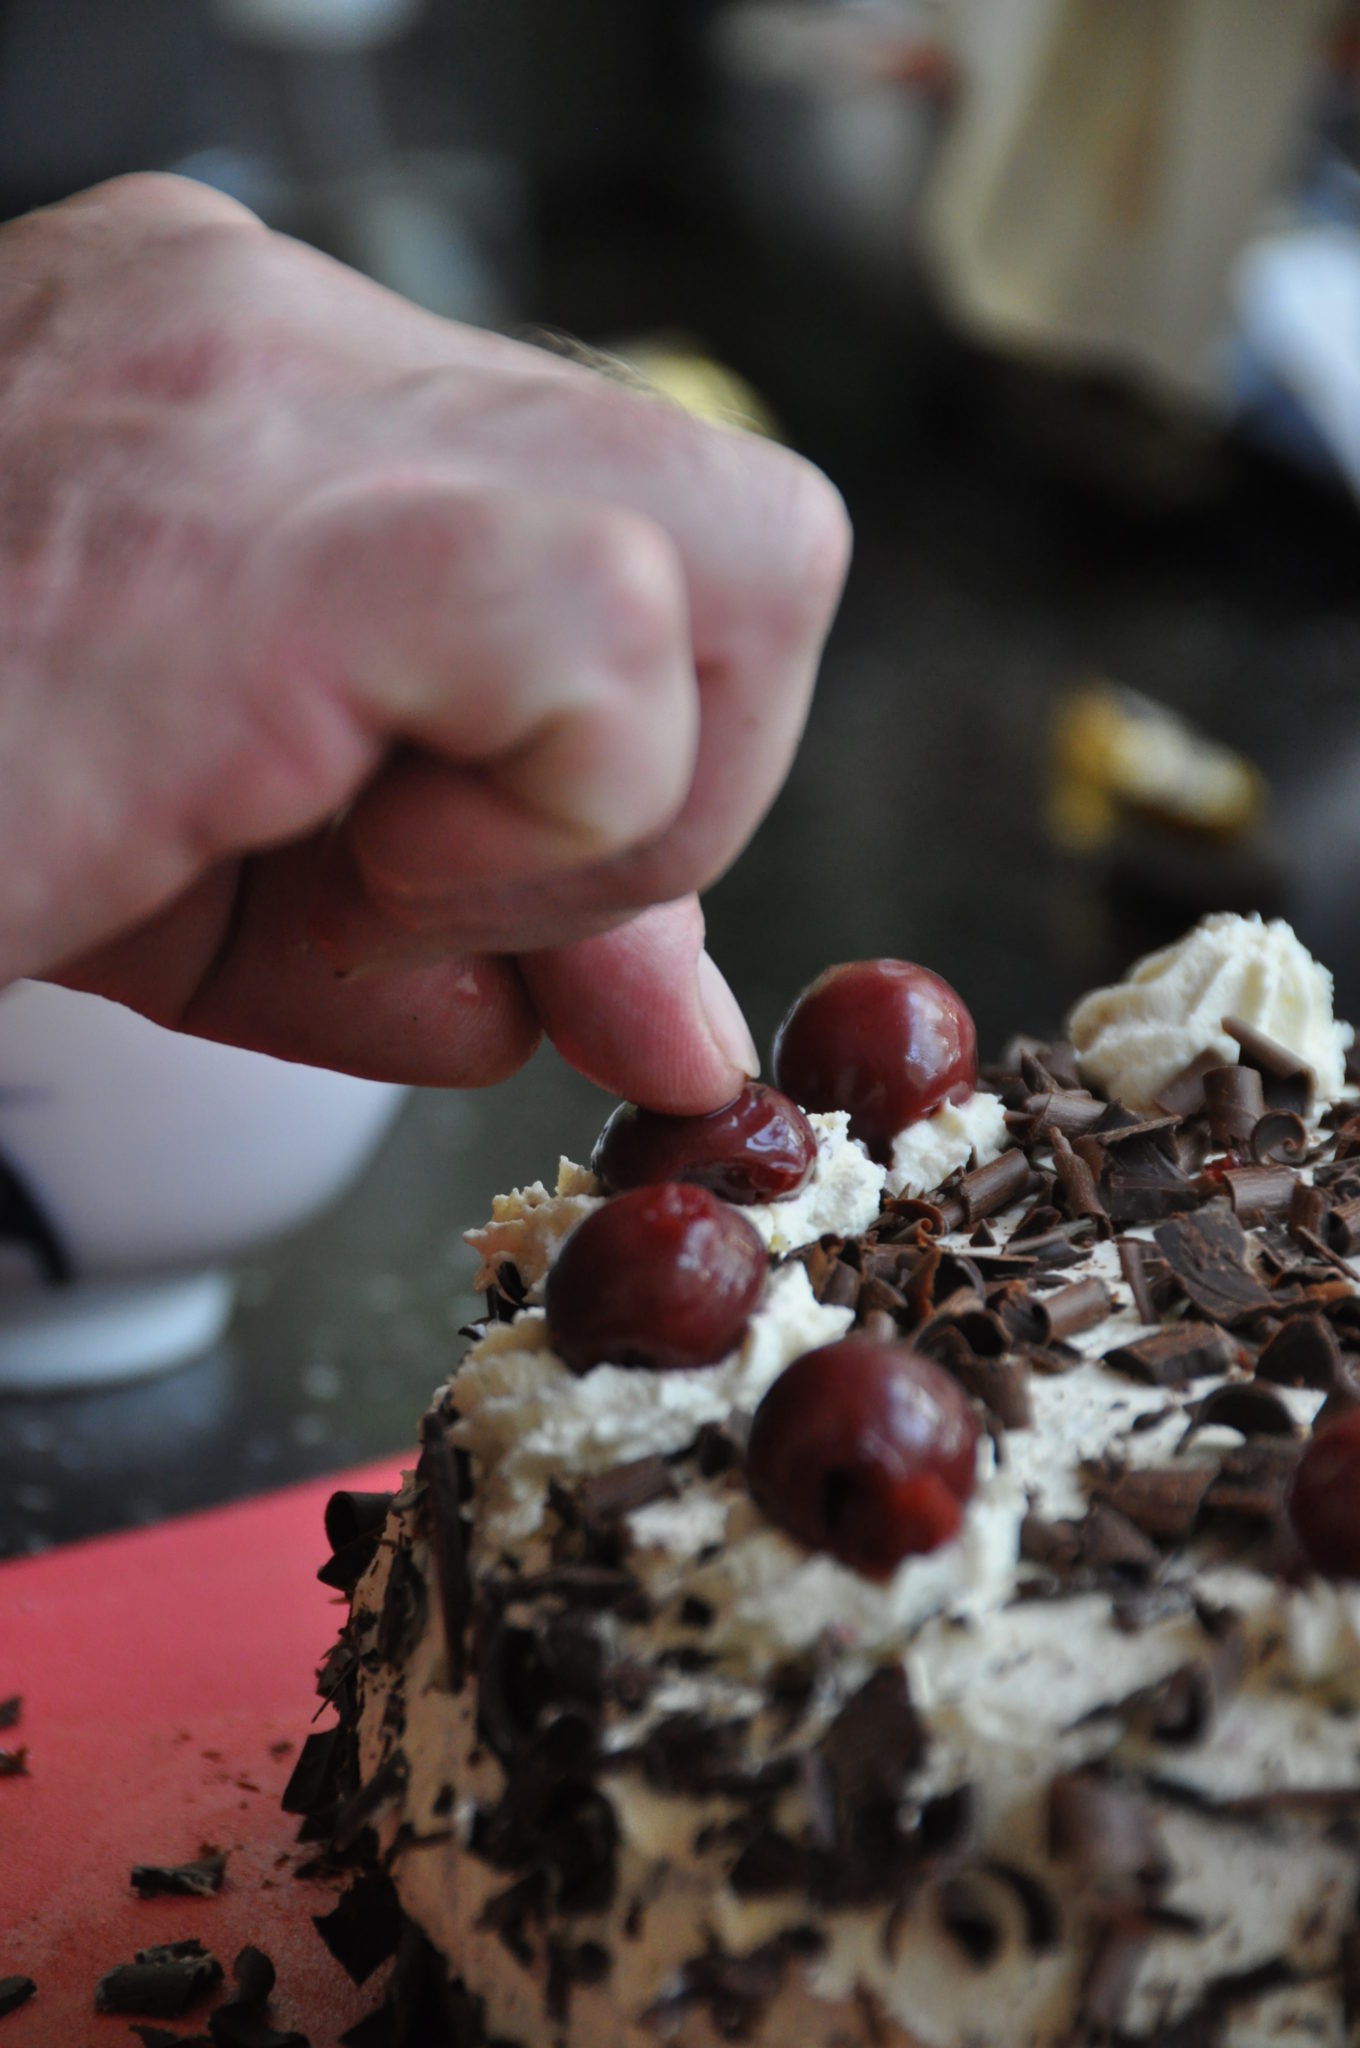
Make the filling, assemble and decorate.

Afterthought, June 2020: Mother’s Express Sponge makes a fast, easier and ligher base for this.

Pudim Flan

DSC_1279.JPGOne of the household favourites, over many, many, years. This delicious pudding is known in Portugal as a pudim flan, in Spain as a caramello, in France as creme caramel. We call it pudim flan, or flan for short.

It’s very easy to make, and totally delicious:
Scrape the seeds from one vanilla pod, and mix well with 125g of castor sugar. Add 4 whole eggs and one extra egg yolk.
Melt 125g castor sugar with two tablespoons of water in a saucepan, then heat the solution on fairly high heat. Try not to do anything, no shaking, stirring, nothing.

The books often suggest that you should heat 1pt milk together with the vanilla pod in a saucepan, remove from the heat just before reaching the boiling point and set aside and let cool down for 10 minutes. I say don’t. Your pudding may not keep as well if you skip this step, but it’ll be so delicious that shelf-life won’t be an issue. Take milk from the fridge. Allow it to warm up a little in the room, especially if you are running your fridge on a cold setting, but use it at still a few degrees less than room temperature. Starting with cold milk leads to an airy flan, light as a feather and milkier in taste. According to our extensive self-experimentation, this makes the pinnacle of flans. A flan fit for a queen!

Prepare a Baine-Marie. Use a tall baking dish such as a 2inch high Pyrex baking dish. Add a kettle of boiling water and six ramekins. We’ve made flan in coffee cups on one occasion, almost anything will do because the heat isn’t all that great, but a fairly heavy porcellain ramekin is preferred over thin anodised aluminum affairs. The thicker wall distributes the heat evenly and allows the temperature to rise slower in the mix.

Preheat the oven to 150C (290F).

Once the sugar turned into a caramel with the colour of dark honey (possibly throwing milk-chocolate coloured bubbles), distribute the caramel among the ramekins. Take care not to engage your bare fingers or tongue, the caramel is at a very high temperature right now. It hurts a lot to lick that spoon!

Finally, pour the milk through a sieve into the egg mix, whisk briefly, then distribute the mix among the ramekins. Cook the whole thing in the oven at 150C for 40 minutes (until the top begins to darken in spots), then remove the ramekins immediately from the water bath and let them cool down.

Chill in the fridge for 2 hours or more. Keeps a few days.

To serve, turn over and resist the urge to add anything.


French Onion Soup

french-onion-soup.jpgA delicious and warming French onion soup in 60 minutes.

This takes about 60 minutes. I know, because I timed it, because I disagreed with someone’s time-consuming method of onion soup preparation (http://blog.gauweiler.net/2011/10/14/french-onion-soup/).

Peel one large yellow onion a person, then cut into semi-circle or quarter-circle rings, 3mm thin. For every two portions, add a small red onion, peeled and cut in the same manner. Peel and crush one small clove of garlic each portion. (10 minutes)

Get a deep pan with a good amount of olive oil on high heat. Sweat the onions, then add crushed black pepper (1/2 teaspoon each portion), crushed allspice (1/4 teaspoon a person) and one crushed juniper berry each portion. Add two rashers of streaky bacon or smoked belly of pork (unless restricted by vegetarianism), add one bay leave for every two portions. Turn the heat down to moderate.

Close the lid for 10 minutes. This produces steam to cook the onions, so try to keep the lid closed. Then, open the lid, and caramelize the onions, stirring occasionally.

(You may now add a pinch of sugar if your onions are too sharp or just not the golden, sweet variety.)

Grate some Gruyere cheese, and make some chunky white bread croutons while the onions are working for you. I prefer using croutons over fresh bread. Fresh bread turns into a slimy mess, and I can spice the croutons with garlic and chili.

The onions should caramelize within 20 minutes. Set the croutons aside.

Dust the onions with a spoonful of white wheat flour, stir, then add liquid. Cold water is a good way to start, about 350ml per portion, but you could also use stock. Once you’ve got it back boiling, season to taste with salt, black pepper, allspice, a hint of nutmeg. Stir and let simmer for 15 minutes, tasting and seasoning as you go along.

Turn the grill on, discard the bay leaves, juniper berries, chilies and bacon rashers, if any, and dish the soup out into portion-sized, heat-proof soup bowls.

Sprinkle croutons on top of each bowl and top with cheese. Go easy on the cheese; you’re making soup, not pizza. Moderate application of cheese also enables your diners to eat the soup with a spoon but without making a mess.

Put under the grill for 5min (cheese bubbling and turning golden, occasional brown spots), and serve with a crisp white wine.

Done in 60 minutes, less for a small amount, and thoroughly enjoyable.


Apple Tarte Tatin

DSC_0448.JPGA delicious Apple Tarte Tatin, free from the frequently-seen puff pastry nonsense, lightly caramelised for stunning golden looks.

Tarte Tatin is an upside-down cake, with a topping of caramelized apples on a shortcrust base (but made upside down, crust on top). You need a fire-proof frying pan for it, one with a metal handle (or take off the plastic handle), as it needs to go into the oven.

Shortcrust base:

Mix 150g white flour with 70g soft butter. Add a pinch of salt, and mix thoroughly until you have fine crumbles. You can do this in the blender or using a hand mixer and a tall bowl. Now add one whole medium-sized free range egg, and a tablespoon of cold water. Mix until it forms a homogeneous glue.

Place a layer of cling film on your worktop, big enough to cover the frying pan. If necessary, have two strips of cling film overlap. Place the dough in the middle and flatten it out by hand as much as you can, then cover with the same sized cling film arrangement.

With the dough between the cling film sheets, roll it to an even 3mm.

Put flat into the fridge to rest. I never have space in my fridge for this, so I simply put it flat down onto a cool stone or tiled floor.

Topping:

Peel five firm and aromatic apples. Braeburn, Kidds Orange Red, Ped Pippin or Jazz are my favourites. Cut into quarters, remove cores. Sprinkle juice form half a lime all over, then set aside.

Preheat your oven to 190 Celsius.

Preheat your frying pan on fairly high heat on your gas or electric cooker. Mix 80g white cane sugar (= 4 tablespoons) with the seeds from one vanilla pod (keep the remaining pod for later). Heat this vanilla sugar mix, just to the point where the first sugar crystals start dissolving. Add a generous knob of soft butter, then add the leftover vanilla pod, and then distribute the apples into the mix. Remember your looking at the underside, so make the apply core cut-outs face you.

Add 100ml of Armagnac, Calvados or Brandy and give it a little shake to dissolve the sugar. Take care nothing catches fire (I’m serious! There’ll be a cloud of combustible alcohol vapor, so do take care).

This should now be bubbling away merrily. Allow to bubble for a couple of minutes, depending on the amount of liquid produced. You’re done when the caramel begins to get a golden colour and some of the excess liquid is evaporated, maybe after 3 minutes or so.

Remove pan from heat.

Baking:

Take dough out of cling film, and cover the apples with it. Tuck it in around the edges so that it makes an upside-down cake.

Put into the oven at 190 Celsius for approximately 30 minutes.

Remove from oven and immediately turn upside down onto a suitable cake serving plate. Don’t wait for the pan to cool – turn over immediately!

Service with or without vanilla ice cream (with optional plum and Calvados mix-ins).